
PROPEL Explained
The purpose of PROPEL
The PROPEL program was developed to make research, teaching, and work-study opportunities transparent and equitable. Read more about the PROPEL mission, history, and the team in About Us.
How does PROPEL work?
PROPEL works in rounds timed in accordance with the semesters, ADD/DROP deadlines and registration. There are distinct phases to each round: project posting, student application and application review
- Mentors post projects to the website.
- After the project posting date closes, students can apply for positions.
- After the student application period closes, mentors can review the applications, interview students, and offer the position. Mentors should either accept or decline all students by the end of the review phase.
- After the application review phase closes, an email is sent notifying students they have been accepted or declined for the position (you should have already notified students who have been accepted).
When are the PROPEL periods (Rounds) for posting and applying to opportunities?
For future PROPEL rounds see - https://propel.umass.edu/rounds
Why are there application limits?
The application limit is designed to encourage students to really think about the projects they're interested in, rather than just applying to all of them. To help with strategizing, PROPEL provides a cool feature with which students can see how many students have applied to a project and how many spots are available in that project. That way, students can both apply for “dream” projects that may be particularly competitive as well as projects with fewer applicants and better odds.
What’s that gold star icon?
New mentors and previous mentors who have a track record of fully reviewing and making decisions on their applicants have a gold star ★ next to their name on the public project listings page. This is a great indicator for students when they are applying for projects. A gold star means that the mentor fully reviewed all of their applicants the last time they posted a project.
PROPEL Project Posting & Review FAQs
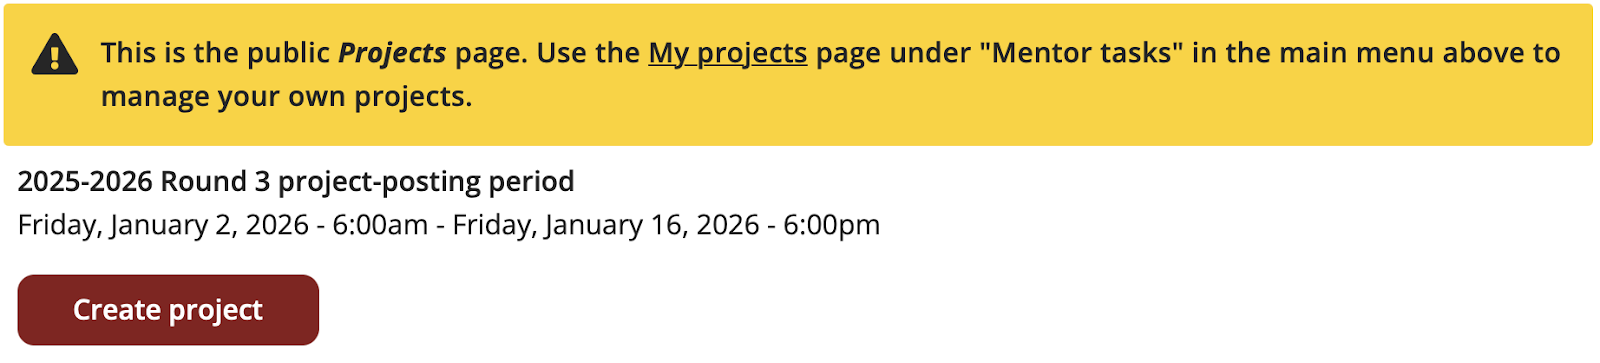
How do I post a project?
- Log into PROPEL and request Mentor status.
Select Mentor tasks > My projects
Click on the "Create project" button. This project will be saved for future rounds. You can only create and activate projects during the project posting period within a round.
- Fill in your project details on the Create Project page.

Note: In the project description, add an "Essay Prompt" that you would like students to respond to when they apply. Students will write a short essay for each project they apply for.
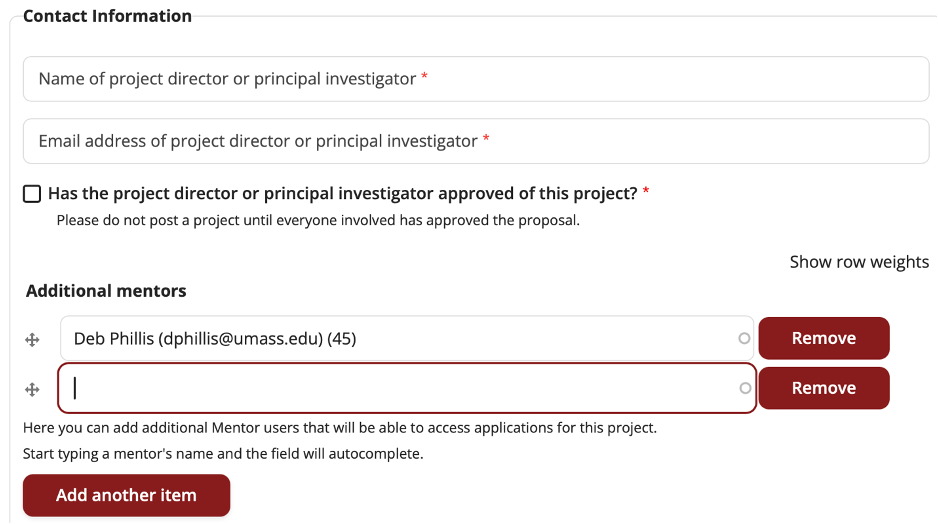
How to add co-mentors to share access to the project in PROPEL.
If you or another mentor needs access to the same project (i.e., applicant information), go to “Additional mentors” and enter the person’s name or email in the field. Click “Add another item” to add additional mentors.
I can’t find the co‑mentor’s name in the system.
This usually means they haven’t created a PROPEL account yet. Please ask them to sign up and request mentor access in PROPEL, or email us at propel@groups.umass.edu and we can create a co‑mentor account for them (include their full name and email).
I don't see a "Field of Study" that works for my field.
Contact the PROPEL team to make suggestion for category options that match your field of research. Once you are logged in to the site, using the Contact form at the bottom of the page:
What happens during the "Application review" period, and what does each review status mean?
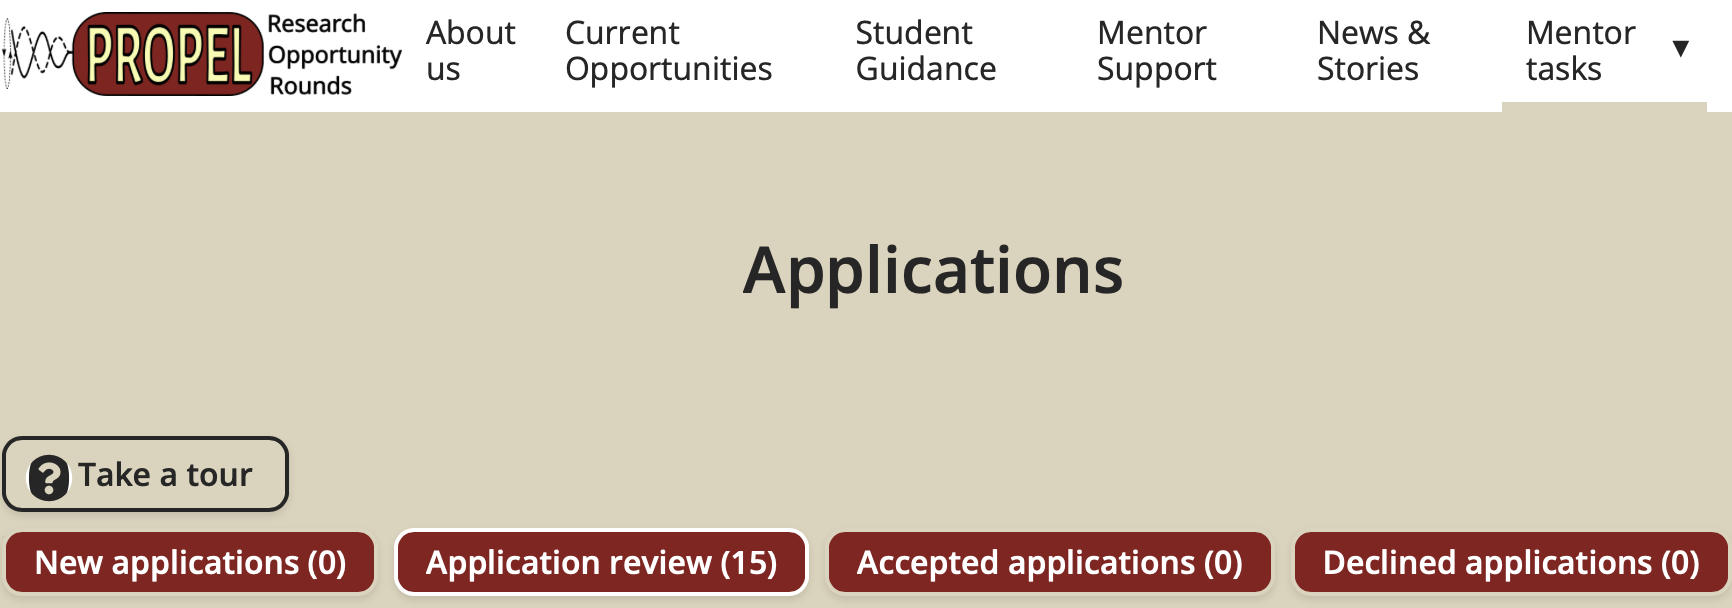
- Once the “First day to accept applications” date occurs, you can begin reviewing applications. Log in and go to “Mentor tasks > Applications”. You can click on the “Take a tour” button to see an overview of the application process, or for more details, you can follow along below.
Going from left to right in the applications menu will guide you through the process:

1. “New applications”: The site provides a “blinded” first phase of review. Before you can see an applicant’s details (name, transcript, resume, etc.), you are presented with your applicants’ essay. From the students’ essay, you decide whether they move on to a full unblinded review. You are free to choose whatever criteria you’d like in determining which applicants move on to a full review. Select to move the applicant to “in review” or “rejected”.
✩ Students do not see whether you’ve reviewed their application until after the “Last day to accept applications” deadline has passed. After that date, students will either see “Accepted” or “Reviewed” (the word declined does not appear on the student interface).
2. “Application review”: For the applications that you put “in review”, you can now see the full applicant information. At this point in the process, proceed with your hiring process as you would normally.
3. “Accepted applications": This is where applicants who you will/have offered a position to get placed. You can move students out of this status anytime up until the “Last day to accept applications” deadline.
✩ When you are ready to make an offer to a student, update the status of their application to “Accepted”. This “Accepted” status is equivalent to an offer.
4. “Declined applications”: This is where applicants who you will not offer a position to get placed. You can move students out of this status anytime up until the “Last day to accept applications” deadline. Students will only see that their application has been reviewed, not rejected if they are not being informed.
Note: Two weeks after the “Last day to accept applications” deadline, students will receive an email from the site that informs them the round is over. We recommend that if you have any students who are “short-listed” but you aren’t able to offer a position to yet, you get in touch with them directly informing them of their status before PROPEL's “round is over” email gets sent out. Otherwise it may create confusion as students would either think they are rejected or are waiting to hear back from you.
What happens after I post my project?
After you post your project, you can make changes to it up until the “Last day to post projects” deadline. After that, students can start applying to your project up until the “Last day to apply for projects” deadline. There is nothing to do for mentors during this time.
How do I view other students beyond the ones that applied to my project—"Student info"
Students can apply to up to 5 projects, but many students are as interested in obtain experience as they are in a particular project. Students have the option to opt into making their profile available to all mentors (*Only students who check the box below when completing their profiles will appear under “Student Info.’). If you wish to view the profiles of other students who did not apply, go to Mentor task > Student info.

PROPEL New Features
If I want to receive applications from specific majors—"Fields of Study":
You can find "Fields of Study" under the Project Description, where you can select multiple majors. You can also specify major requirements in the Project Description or the Student Qualifications section.
New "Additional Documents (e.g. Resume)" field for students to include in their Profile:
Students can upload their resume to the "Additional Documents (e.g. Resume)" field of their profile, located directly below the "Transcript" field.

This field can be used for any other application documents you want students to submit. Students can upload up to 5 files.
I can only see the students’ application essays, not their full information, what should I do?
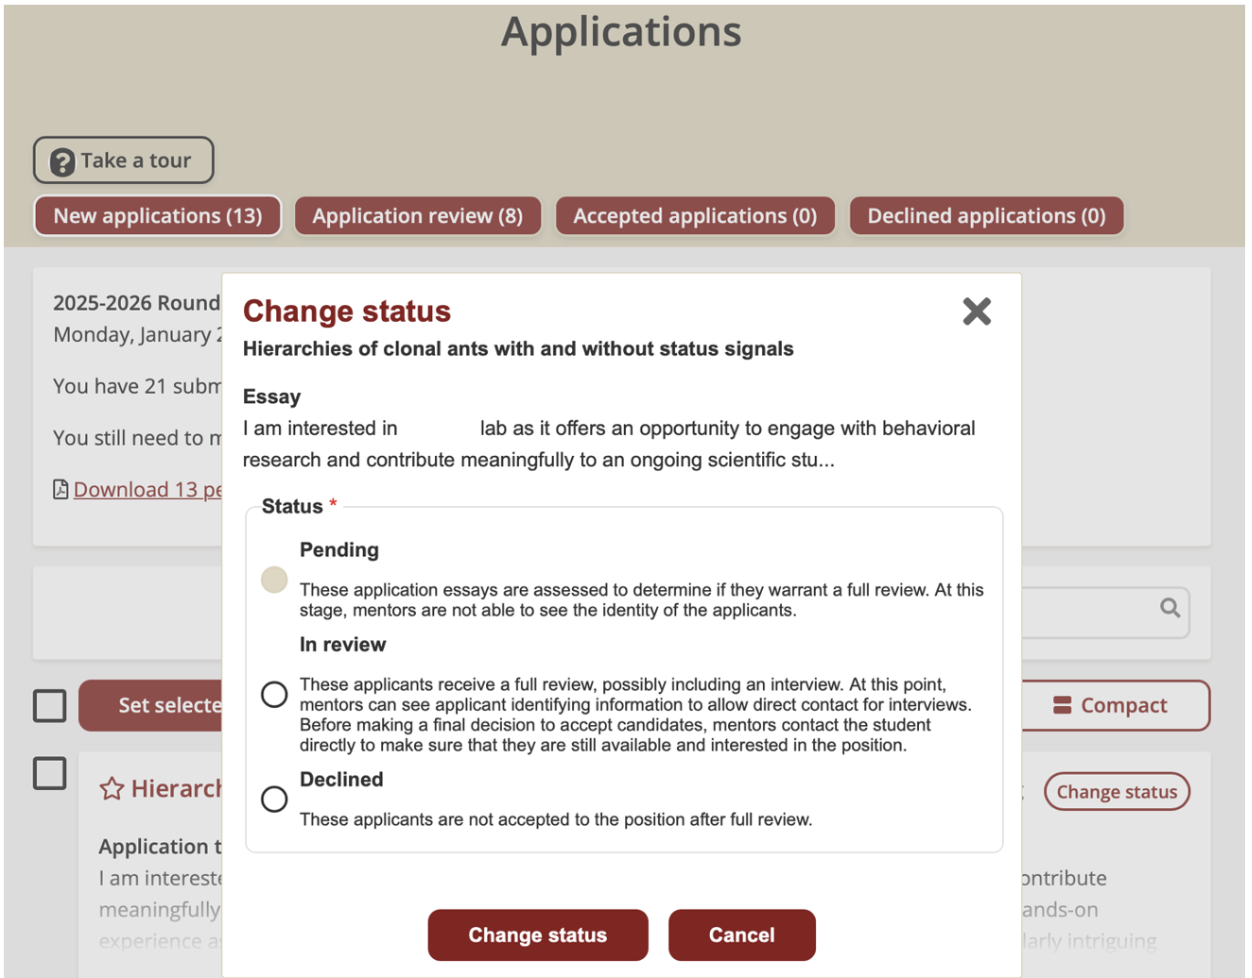
The site provides a “blinded” first phase of review (shown as the “Pending” status below). Before you can see an applicant’s details (name, transcript, resume, etc.), you are presented with your applicants’ essay first.

To access the applicant’s full information, you can either select all applicants using the checkbox on the left and click “Set selected to In Review”;
OR change each applicant’s status from “Pending” to “In review”:
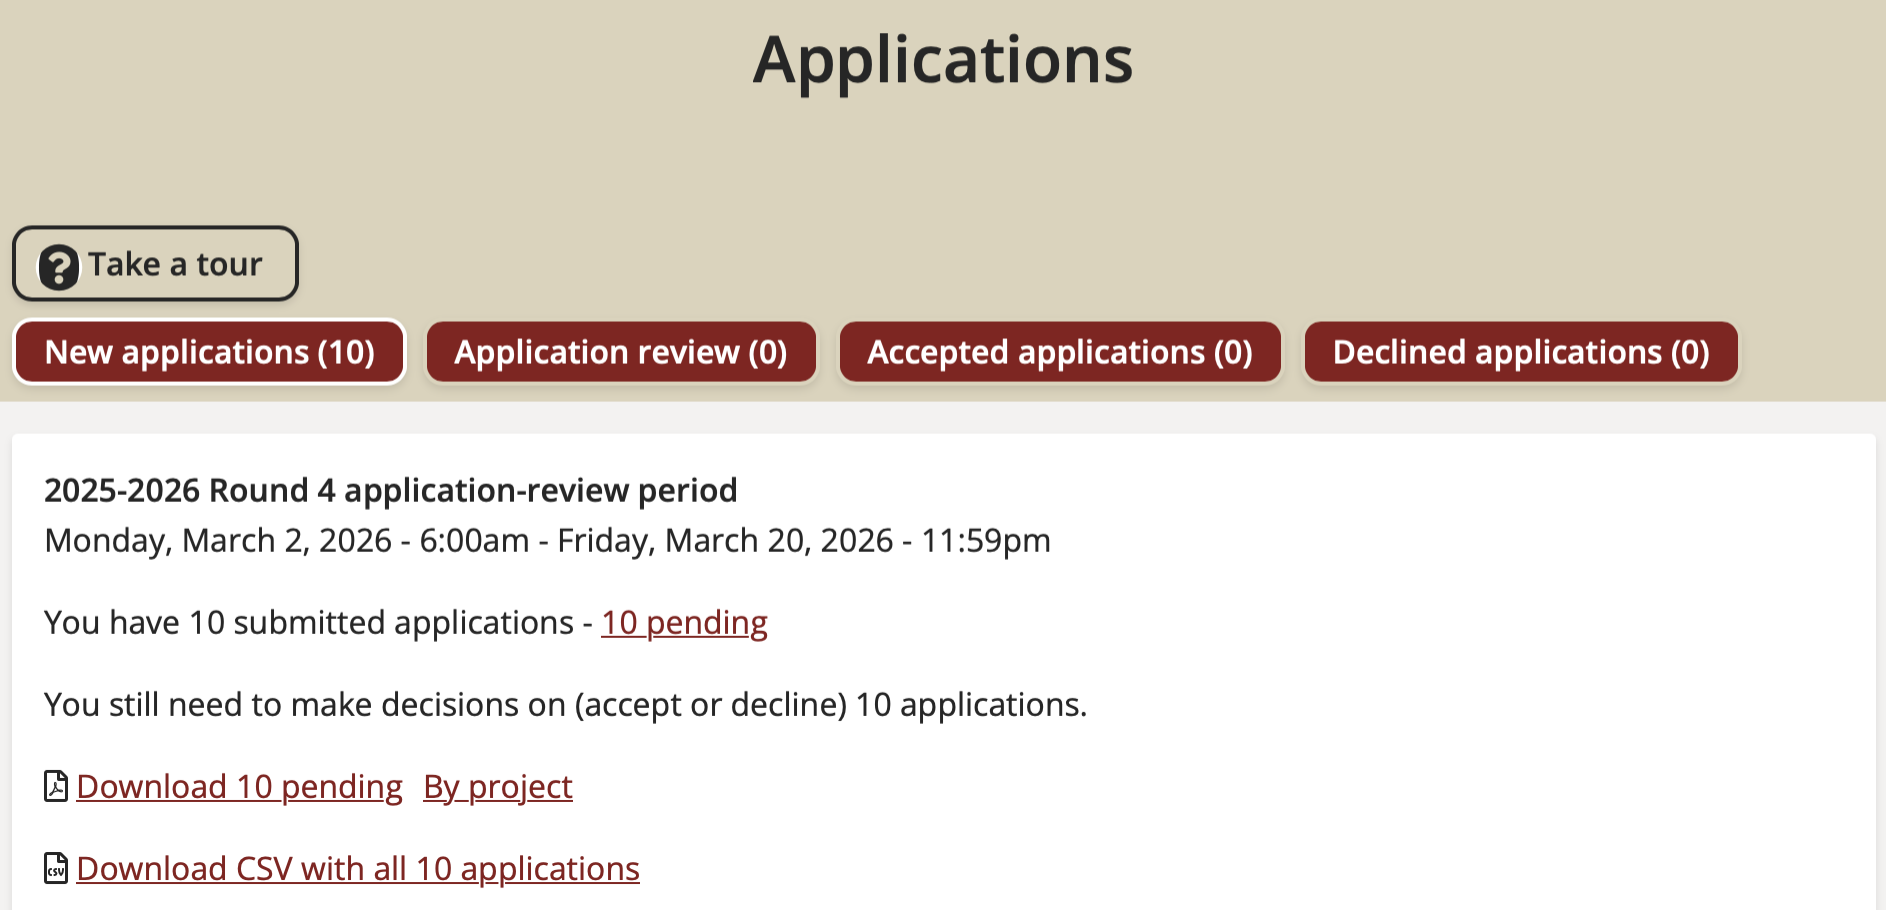
You should now be able to view all completed applications by going to Mentor Tasks > Application, then clicking the "Application review" tab. The New applications count will be 0 since all applications have been moved to Application review.
How to download and view all student applications at once:
Go to Mentor tasks > Applications page > Download CSV with all applications OR pending applications.
PROPEL Mentoring Resources
Information about the Mutual Mentoring project
Here is the link to Mutual Mentoring project. This project is support through a grant from the UMass Office of Faculty Development for 2024-2025 "A Bottom-Up Network for Developing Transparent Policies and Mechanisms for Equitable Access to STEM Undergraduate Research Experiences" to bring together faculty from departments in the Colleges of Natural Sciences and Engineering to learn faculty experiences and traditions in different disciplines and from scholars nationwide. We will use these practices in our roles as mentors, teachers and more broadly in our communities to effectively mentor diverse undergraduate researchers.
Top 10 mentoring tips for a successful relationship
These suggestions are from a blog post by UMass graduate student Emma Dauster in That's Life[Science]
- Make time
- Give them assignments in which you have an interest
- Establish expectations clearly, early, and frequently
- Review performance and revisit expectations regularly
- Be open to their interests
- Build a community in your team
- Value the perspective of each team member equally
- Provide multiple avenues of grievance mitigation
- Give them training
- Understand that their lived experiences are likely very different from yours
Evidence-based strategies for improving diversity and inclusion in undergraduate research labs
"...Research has demonstrated that undergraduates who participate in research projects and positively interact with faculty are more likely to pursue and attain post-baccalaureate degrees as well as subsequent careers as faculty or research scientists." This article discusses some of the challenges faced by underrepresented students Evidence-Based Strategies for Improving Diversity and Inclusion in Undergraduate Research Labs and ways to improve student recruitment and experiences
How more inclusive lab meetings lead to better science
These suggestions are from an article led by UMass graduate students Nigel Golden and Kadambari Devarajan Ten simple rules for productive lab meetings
- Define lab mission and objectives
- Identify roles and rules
- Be accessible and inclusive
- Be supportive
- Be respectful and practice civility
- Manage conflict
- Be open and curious
- Be mindful and present
- Be aware of biases
- Be flexible and adaptable
The key to a happy lab life is in the manual
Many labs now have a lab expectation and values document to share with students or have them sign. A popular starting point is Mariam Aly's The key to a happy lab life is in the manual. Here is her Current version on Github. Oregon State University provides a nice guide to creating mentoring contracts with examples from 5 different universities.